
Trip summary, budget and sharing
See your whole trip at a glance: a written summary, a day-by-day timeline, what you have spent, what to know before you go, and who else can see the trip.
Your trip summary and timeline
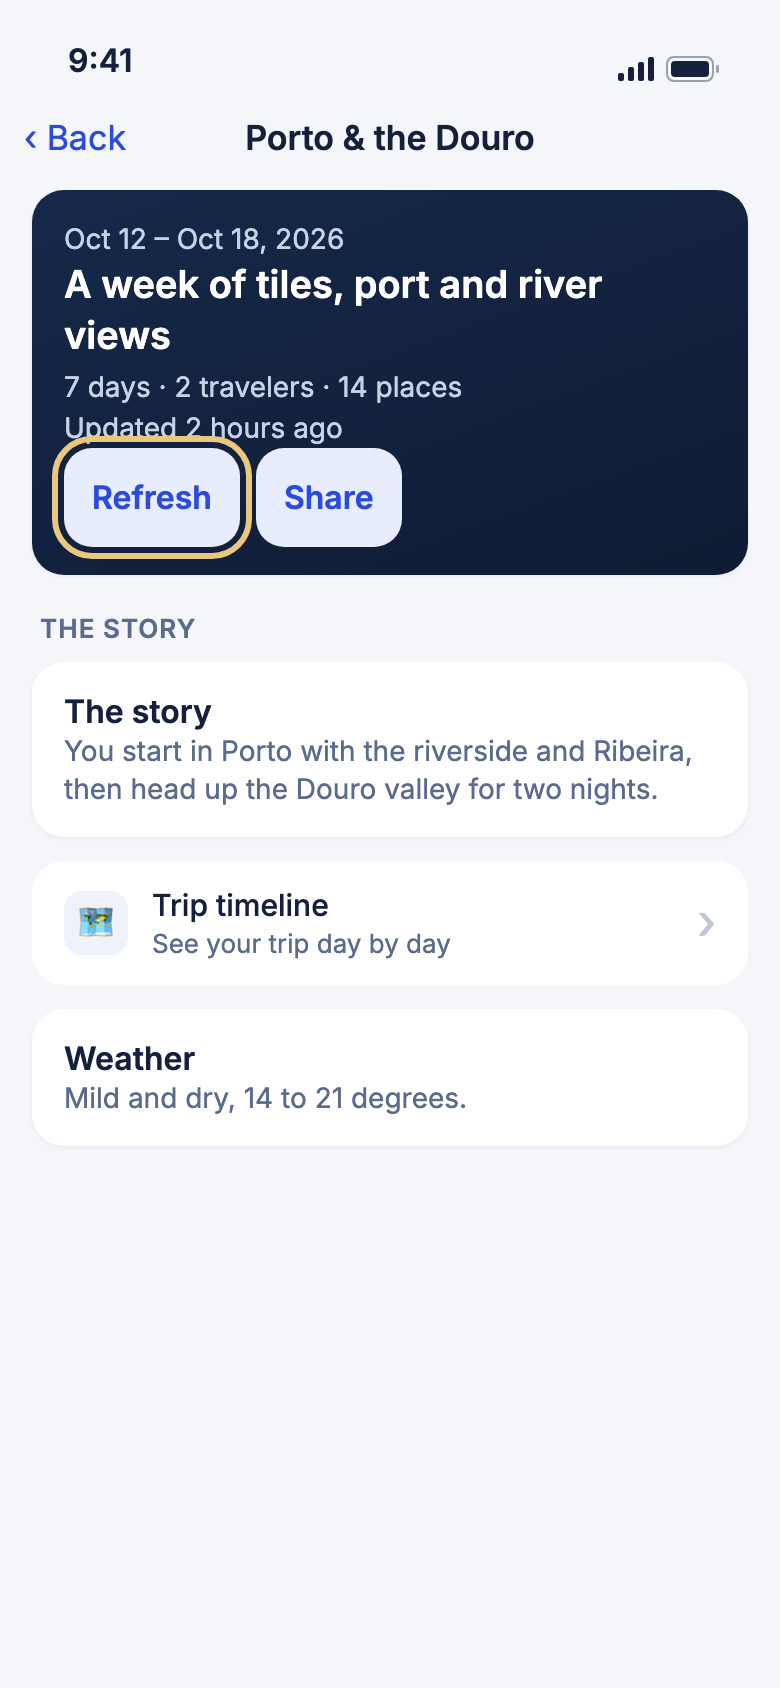
Read your trip summary
The summary is a short write-up of the whole trip. After the trip it reads like a recap.
- Tap Trips, then tap the pencil on your trip's card to open Edit trip.
- Tap Trip summary.
- Read the top card, then scroll through sections such as The story, Weather and Bookings.
- To write it again, tap Refresh, or pull the page down.
WeiiGo Pro — On Free you see a Sample summary about someone else's trip, with a row to upgrade.
Good to know
- On a finished trip, tap Recap on its card in Trips instead.
- It never shows booking numbers.
- With no signal you see the last saved copy.
Share your summary as a picture
Turn the summary into a card you can send to friends.
- Open your trip summary.
- Tap Share. On a finished trip, tap Share your recap.
- Pick an app, or save the picture.
WeiiGo Pro — Part of the trip summary, so Free travellers do not get it.
See your trip day by day
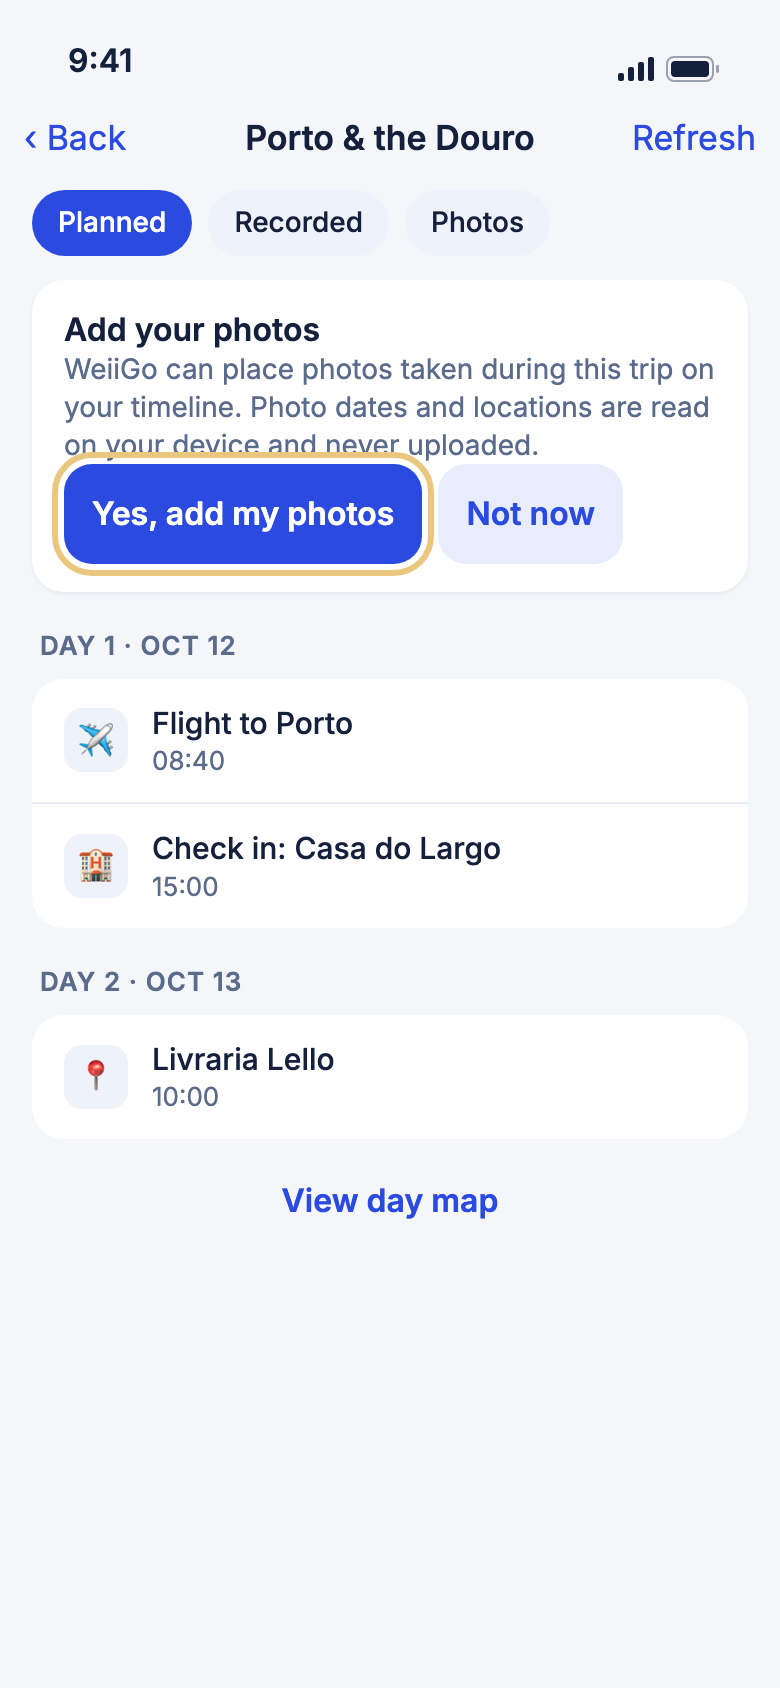
The timeline puts what you planned, the places you went and your photos in one list.
- Open your trip summary.
- Tap Trip timeline.
- Read each day. The key at the top shows Planned, Recorded and Photos.
- On a day with recorded places, tap View day map.
- On a long trip, tap Show more days at the bottom.
WeiiGo Pro — On Free there is no Trip timeline row.
Good to know
- Pull down to load it again.
- A day with nothing on it says Nothing recorded on this day.
Add your photos to the timeline
Your photos can sit on the timeline by the time they were taken. Their dates and places are read on your phone and never uploaded.
- Open the timeline.
- On the Add your photos card, tap Yes, add my photos.
- Allow photo access when your phone asks.
- Tap a group of photos to open it, then swipe through them.
WeiiGo Pro — Part of the trip timeline.
Good to know
- Tap Not now to decide later. An Add your photos link brings it back.
- If photo access is off, tap Open settings to turn it on.
Keep a photo with the trip
A photo on your phone can be lost. Keep with trip saves a copy with the trip. Only you can see your kept photos, even on a shared trip.
- On the timeline, open a photo.
- Tap Keep with trip.
- Find it again in Kept with this trip near the top.
- To stop keeping one, open it and tap Remove.
WeiiGo Pro — Without Pro you can still see photos you kept earlier, but not add or remove them.
Good to know
- You can keep up to 50 photos on each trip.
- The photo on your phone is never touched.
Your budget
Set a trip budget
A budget shows how much you have spent and how much is left. Everyone can use it.
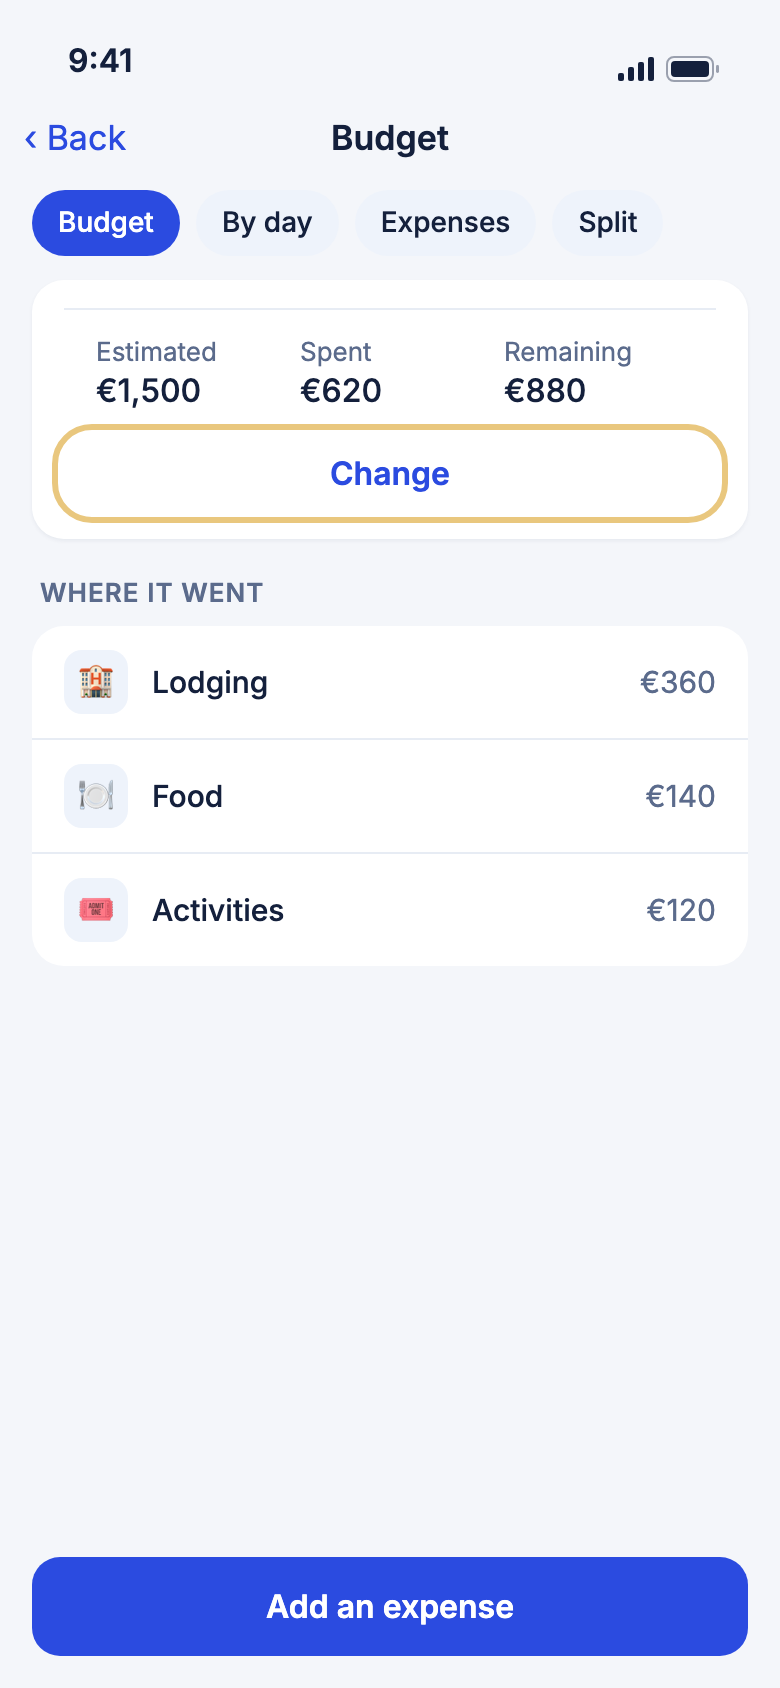
- Open your trip and tap the budget line on the trip card. Or tap Edit trip, then See full breakdown.
- Tap Set a budget.
- Type an amount. Tap the currency to pick another one.
- Tap Save.
Good to know
- To change it later, tap Change.
- When you spend more than the budget, Remaining turns into Over by.
- Spending in other currencies is converted at today's rate.
- Only the trip's owner and editors can change the budget.
Add an expense
Record what you spend, one expense at a time.
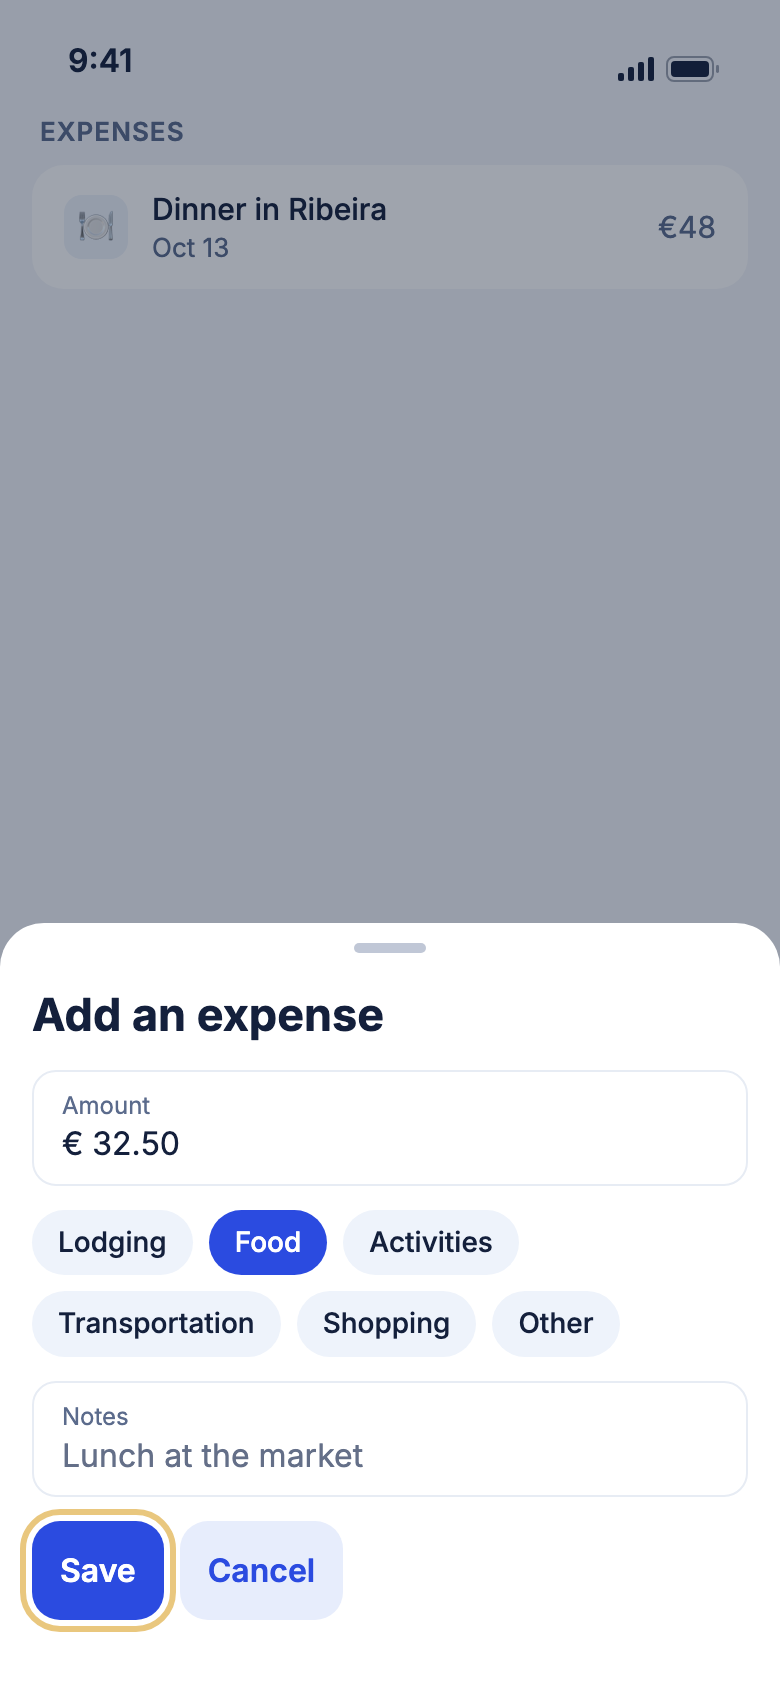
- On the Budget page, tap Add an expense.
- Type the Amount. Tap the currency to change it.
- Tap a category, such as Food or Lodging.
- Add Notes if you like.
- Tap Save.
Good to know
- Tap By day for a total per day, or Expenses for the full list.
- To change an expense, tap it. To delete one, tap ✕, then Delete.
- Prices on your bookings count toward Spent too.
- Import from your bank or card can offer purchases for you to review. Nothing counts until you accept it.
Split costs with your group
On a trip with two or more people, you can say who paid and who owes whom.
- In Add an expense, tap who paid under Paid by.
- Under Split between, tap the people to include.
- Choose Equally, or Custom amounts.
- Tap Save.
- Open the Split tab to see who owes what.
- When someone pays you back, tap Settle up, then Save.
Good to know
- Custom amounts must add up to the whole expense.
- When nothing is owed, the tab says All settled up.
Getting ready
Check what you need before you go
Know before you go gathers facts for your destination: entry rules, plugs, money and more.
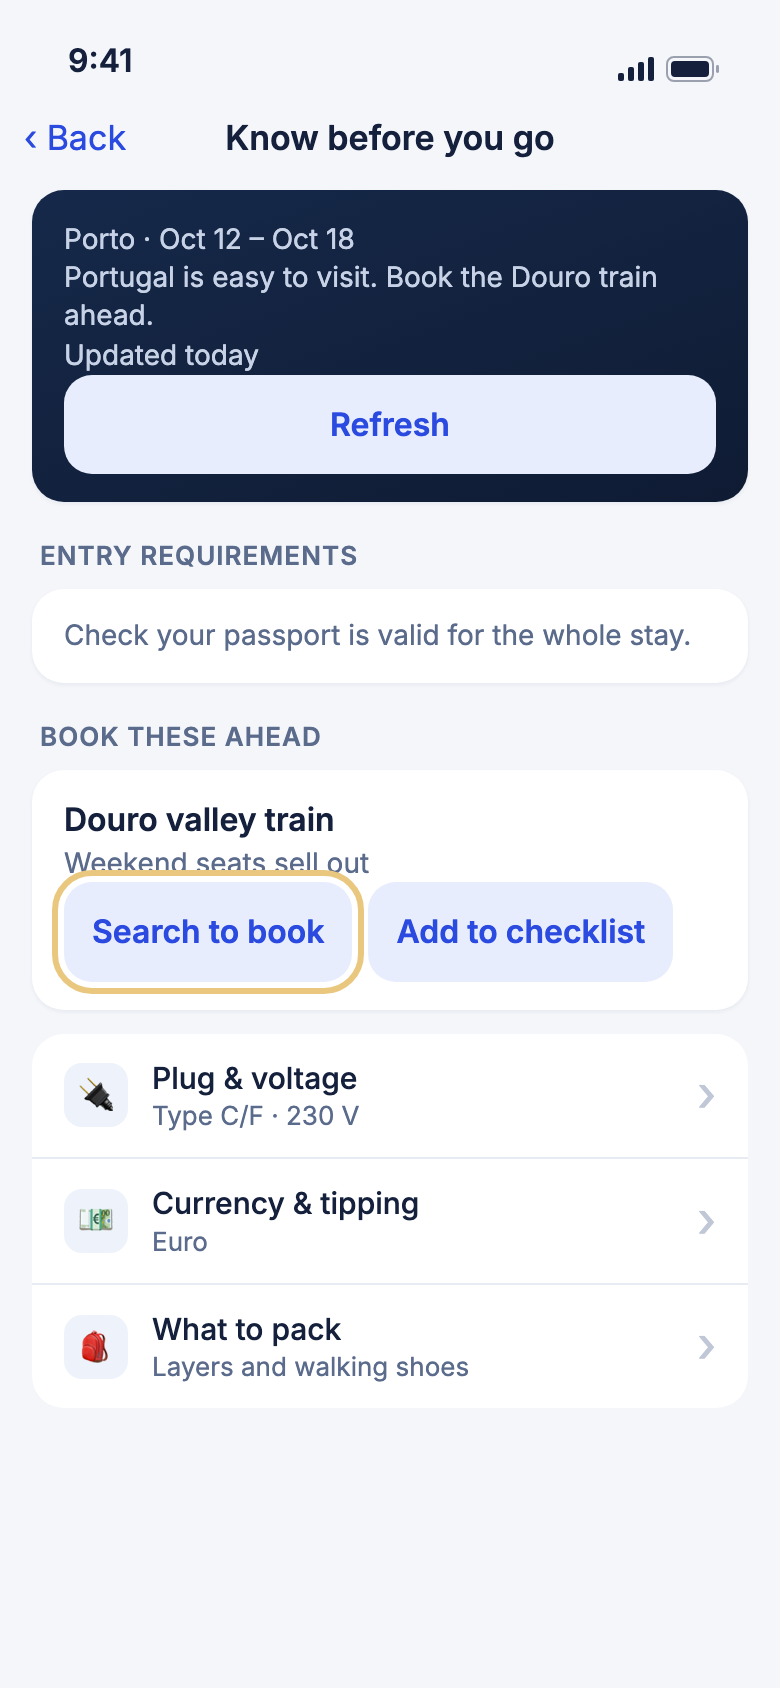
- Open your trip and tap ⋯.
- Tap Know before you go.
- Tap a heading, such as Plug & voltage or What to pack, to open it.
- Pull the page down to refresh it.
WeiiGo Pro — Free shows the facts. Pro also adds a written brief and Book these ahead. Free shows a Sample brief instead.
Good to know
- It is for upcoming and current trips.
- With no signal you see the last saved copy.
Book things ahead
Some places sell out early. Pro travellers get a short list of them.
- Open Know before you go.
- Find Book these ahead.
- Tap Search to book to look for it, or Add to checklist to remember it.
- Tap Refresh on the top card to have the brief written again.
WeiiGo Pro — Free travellers see a sample only.
Sharing a trip
Share a trip with a trusted contact
Your contact sees the trip in their own WeiiGo app straight away.
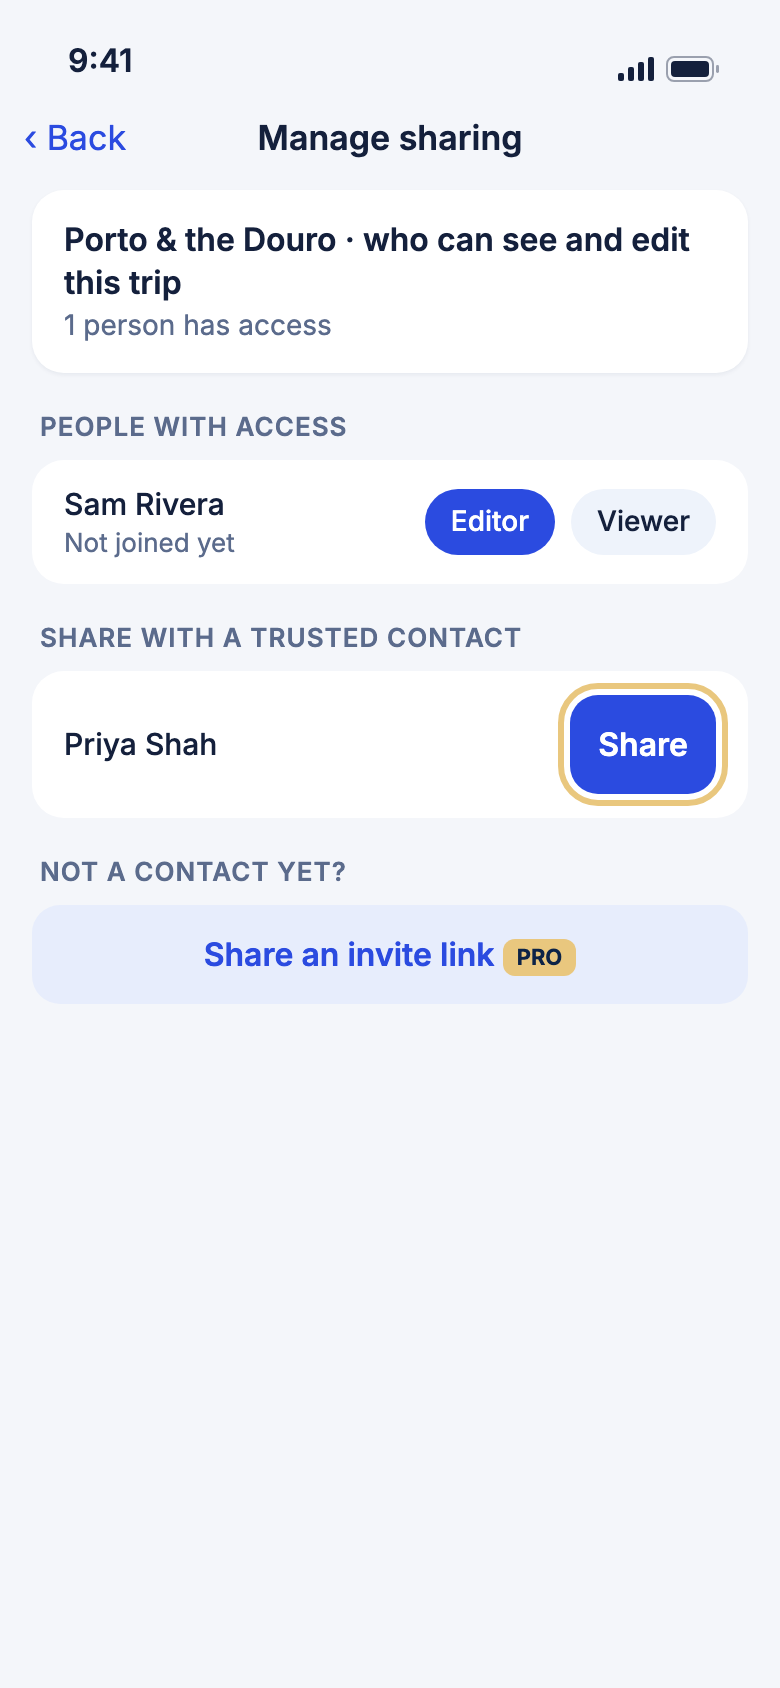
- Open your trip and tap ⋯, then Share trip.
- Under Share with a trusted contact, find the person.
- Tap Share.
WeiiGo Pro — On Free, Share trip asks you to upgrade first.
Good to know
- They must have a WeiiGo account and have accepted your invite.
- Anyone who cannot be shared with yet is listed with a reason.
- Only you, the owner, can manage sharing.
Choose who can edit
An Editor can change the trip. A Viewer can only look.
- On Manage sharing, find the person under People with access.
- Tap Editor or Viewer.
WeiiGo Pro — Editors need Pro too. If not, they stay a viewer.
Good to know
- A person shows Joined the trip once they join, or Not joined yet.
Approve a request to join
Someone you shared with can ask to join. Then it counts as one of their own trips.
- Open Manage sharing.
- Look at Join requests at the top.
- Tap Approve or Decline.
Good to know
- You get a notification when someone asks.
- If you were shared a trip, tap Request to join on its card, then Ask to join.
Invite someone with a link
Use a link when the person is not one of your contacts. They join as a Viewer.
- On Manage sharing, under Not a contact yet?, tap Share an invite link.
- Send the link with any app.
- To stop it working, tap Stop sharing link.
WeiiGo Pro — On Free, the button asks you to upgrade.
Good to know
- The link lasts 7 days. Anyone with it can join until then.
- People who already joined keep their access.
Take someone off your trip
You can remove anyone at any time.
- On Manage sharing, tap ✕ on the person's row.
- Tap Remove to confirm.
Good to know
- The trip disappears from their app. Their notes and kept photos on it are deleted for good.
Leave a trip someone shared with you
You can step away from a shared trip.
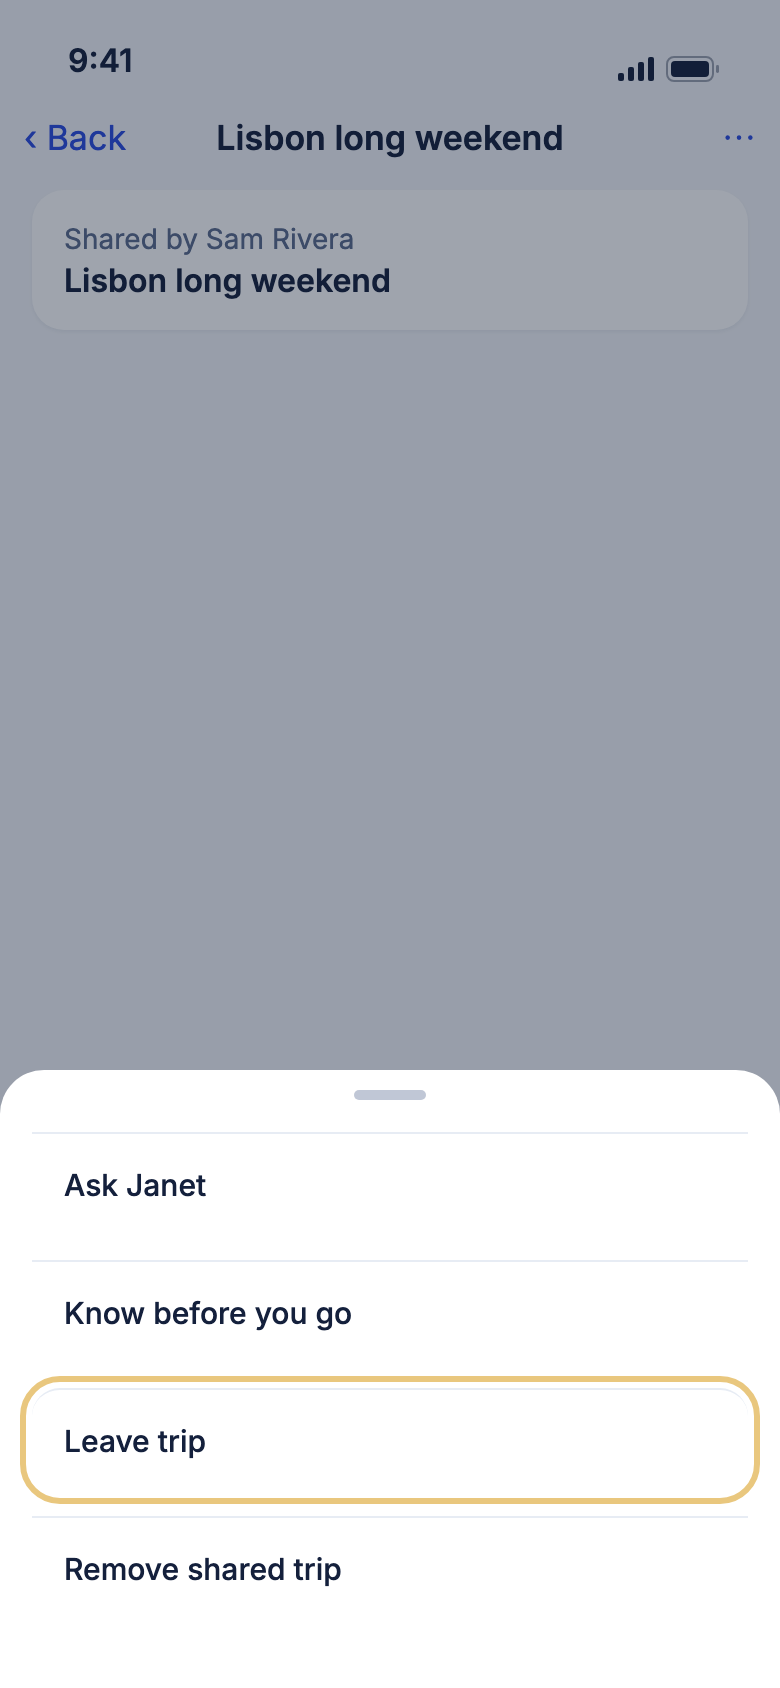
- Open the shared trip and tap ⋯.
- Tap Leave trip, then Leave. Or tap Remove shared trip, then Remove.
Good to know
- Leave trip keeps the trip on your list to view. Remove shared trip takes it off, and you lose access.
- The owner keeps their trip either way.
- Leaving is free for everyone.